Prototyping
The prototyping phase is the phase that follows after the co-designing phase. It takes the results achieved in the co-design phase and works towards making a prototype ready for testing in the final evaluation phase. The prototype enables the design team to test and verify whether certain features work as intended and give the participant an opportunity to try out the designed product.
In this phase, the workshop plan will briefly be discussed to give insight into the thought process that went into the prototype. Afterwards, a more detailed explanation of the prototype will be given.
Workshop plan
For making an explanatory prototype, the design team first needed a well worked out design. The aim was to get as close to the actual final design as possible, but some changes must be made for making a prototype out of it. The resources and time there is in the workshop is quite limited and therefore it was important to have a design that was easy to produce with the available resources. Also, a good workshop plan was necessary to finish the prototype in the time given (two times three hours approximately).
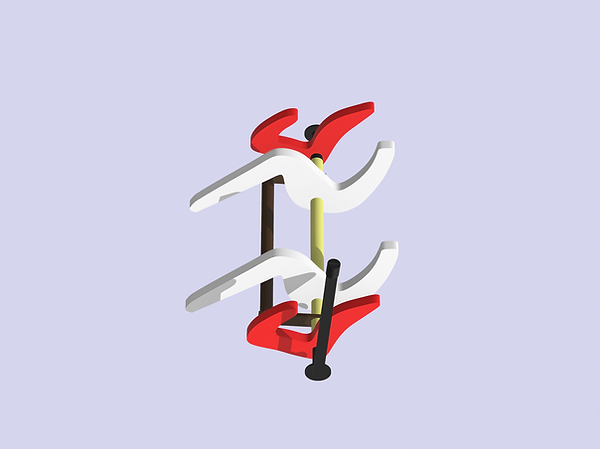
For the first step, coming up with a workshop design, we made some sketches and tried out some designs, which can be seen over here:
In these designs you can see that the main mechanism is approximately the same, but the shape and measurements of some parts differ a bit. One of the resources the team could use was laser cutting. This is an easy, precise and fast way of making parts and therefore the team chose to further develop the design to shape some complex parts in a way that these could be laser cut.
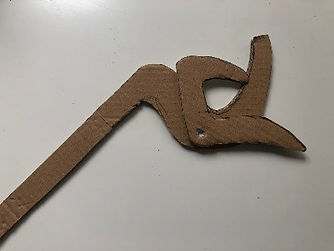
In the first workshop of the two, the team was not sure about the design there was at the time. Some adjustments still had to be made and therefore the team doubted about going to this first workshop. After some discussion, the team decided to produce a prototype of the mechanism, as it was at this time, during this workshop. In this way, the team would not ‘waste’ the given time in the workshop and better visualise if the mechanism was functional or not. The result of this workshop can be seen in the picture below.
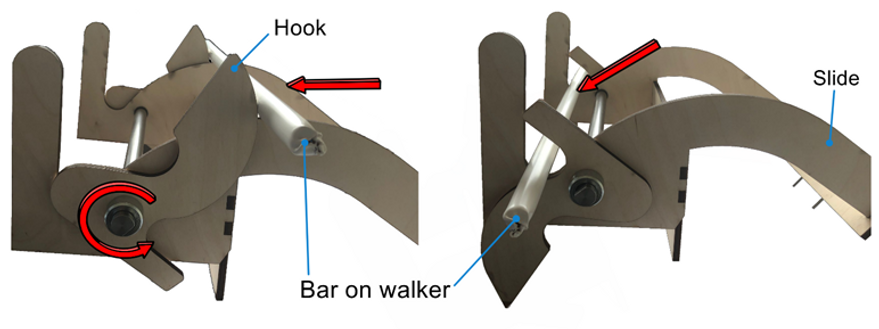
After this workshop the team had a week to finish the concept and adjust some small parts before the second workshop was scheduled. This second workshop was better prepared, and the team made a clear design and workshop plan including more detailed DXF files and a better connected design.
This design consists of the following parts, which have its material and production method between brackets:
-
Two ‘hooks’ (plywood, laser cutting)
-
Two static ‘slide parts’ (plywood, laser cutting)
-
One backboard to keep everything together (plywood, laser cutting)
-
One rod to make the hooks rotate (steel, cutting and bending)
-
Two slide bearings to reduce friction on the slide parts (plastic)
Finally, this yielded the following results: